Val Hacks: DIY Waffle Cone
In this week’s edition of “Val Hacks,” Ivy Haight ’25 upgrades a classic ice cream cone by utilizing Val’s waffle maker.
If you followed my Val hacks articles from last year, you know I am always looking for ways to elevate dessert, and my first stop is usually the soft serve machine. Yes, there is a generous assortment of sugar cones, cake cones, and bowls, but there is one ice cream store staple missing from the equation: waffle cones. This DIY waffle cone isn’t perfect, but if you’re craving a waffle-y medium for your soft serve, look no further.
Directions:
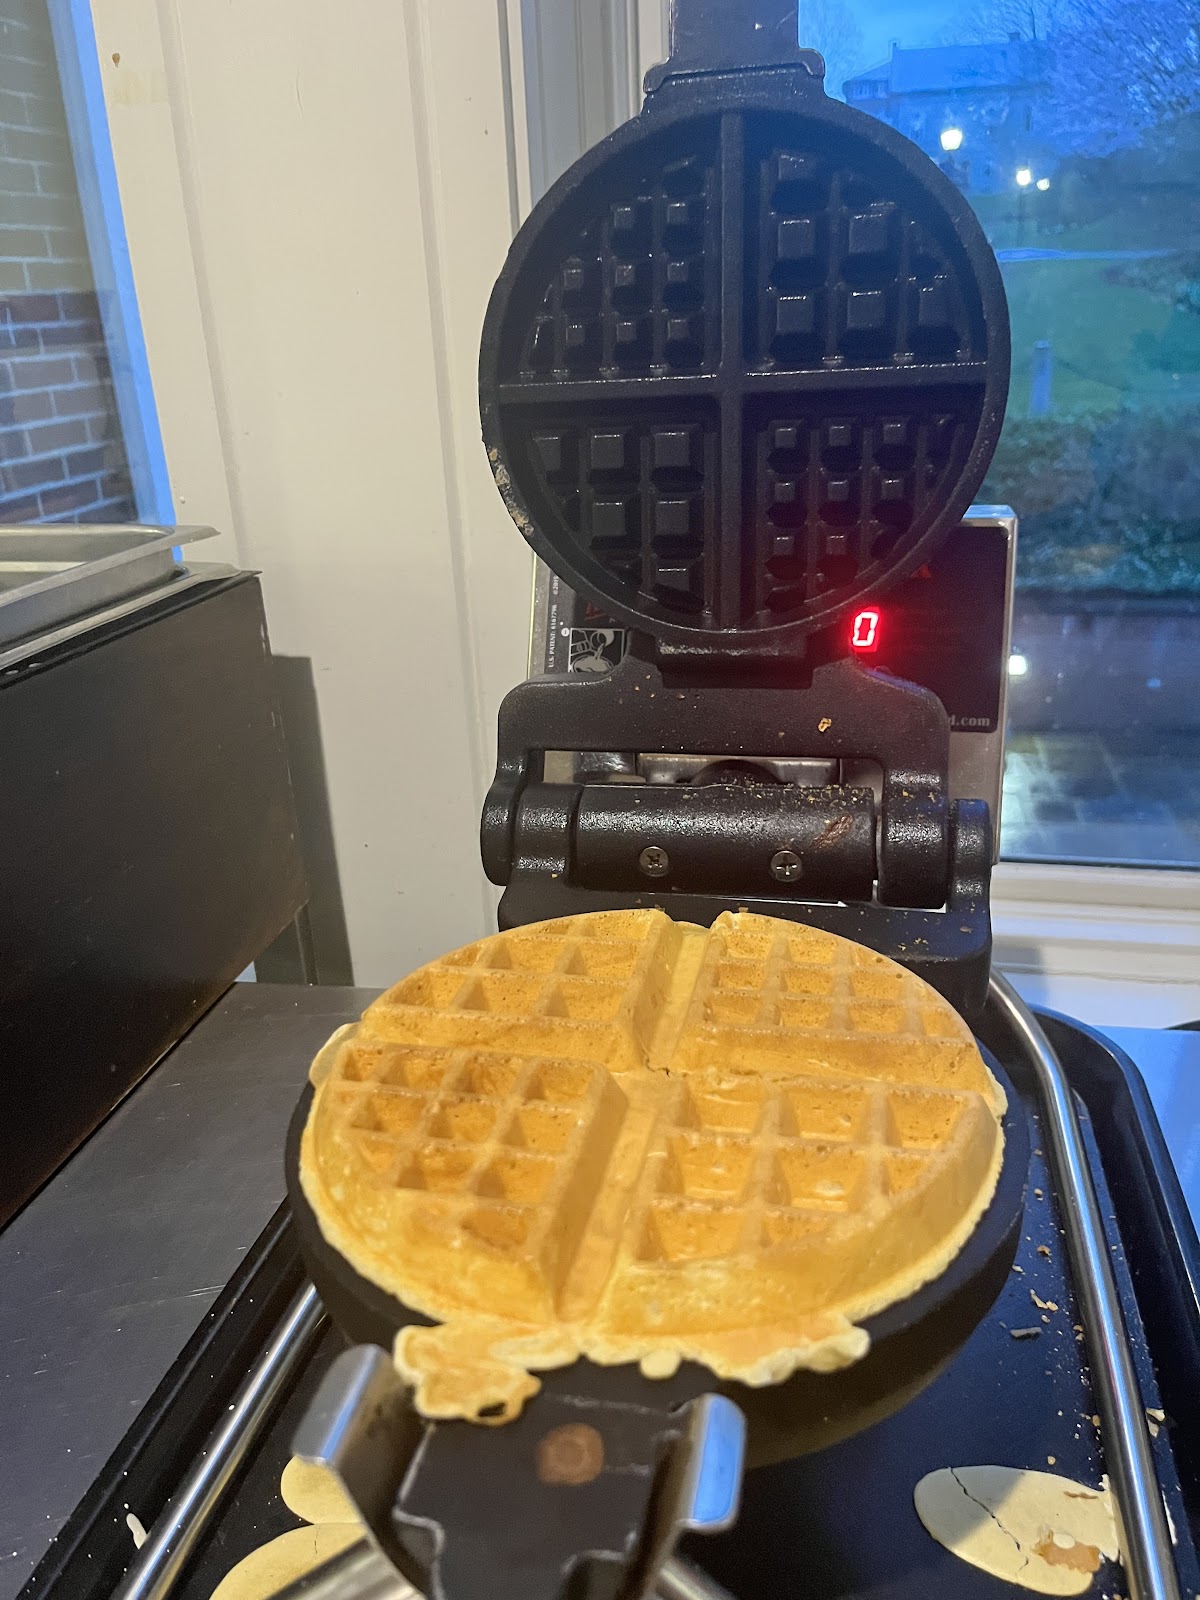
- Make a waffle using the waffle maker. This recipe calls for half of a waffle, so you can either delicately pour batter into only half of the skillet, or you can make a full waffle and split it with a friend like I did.
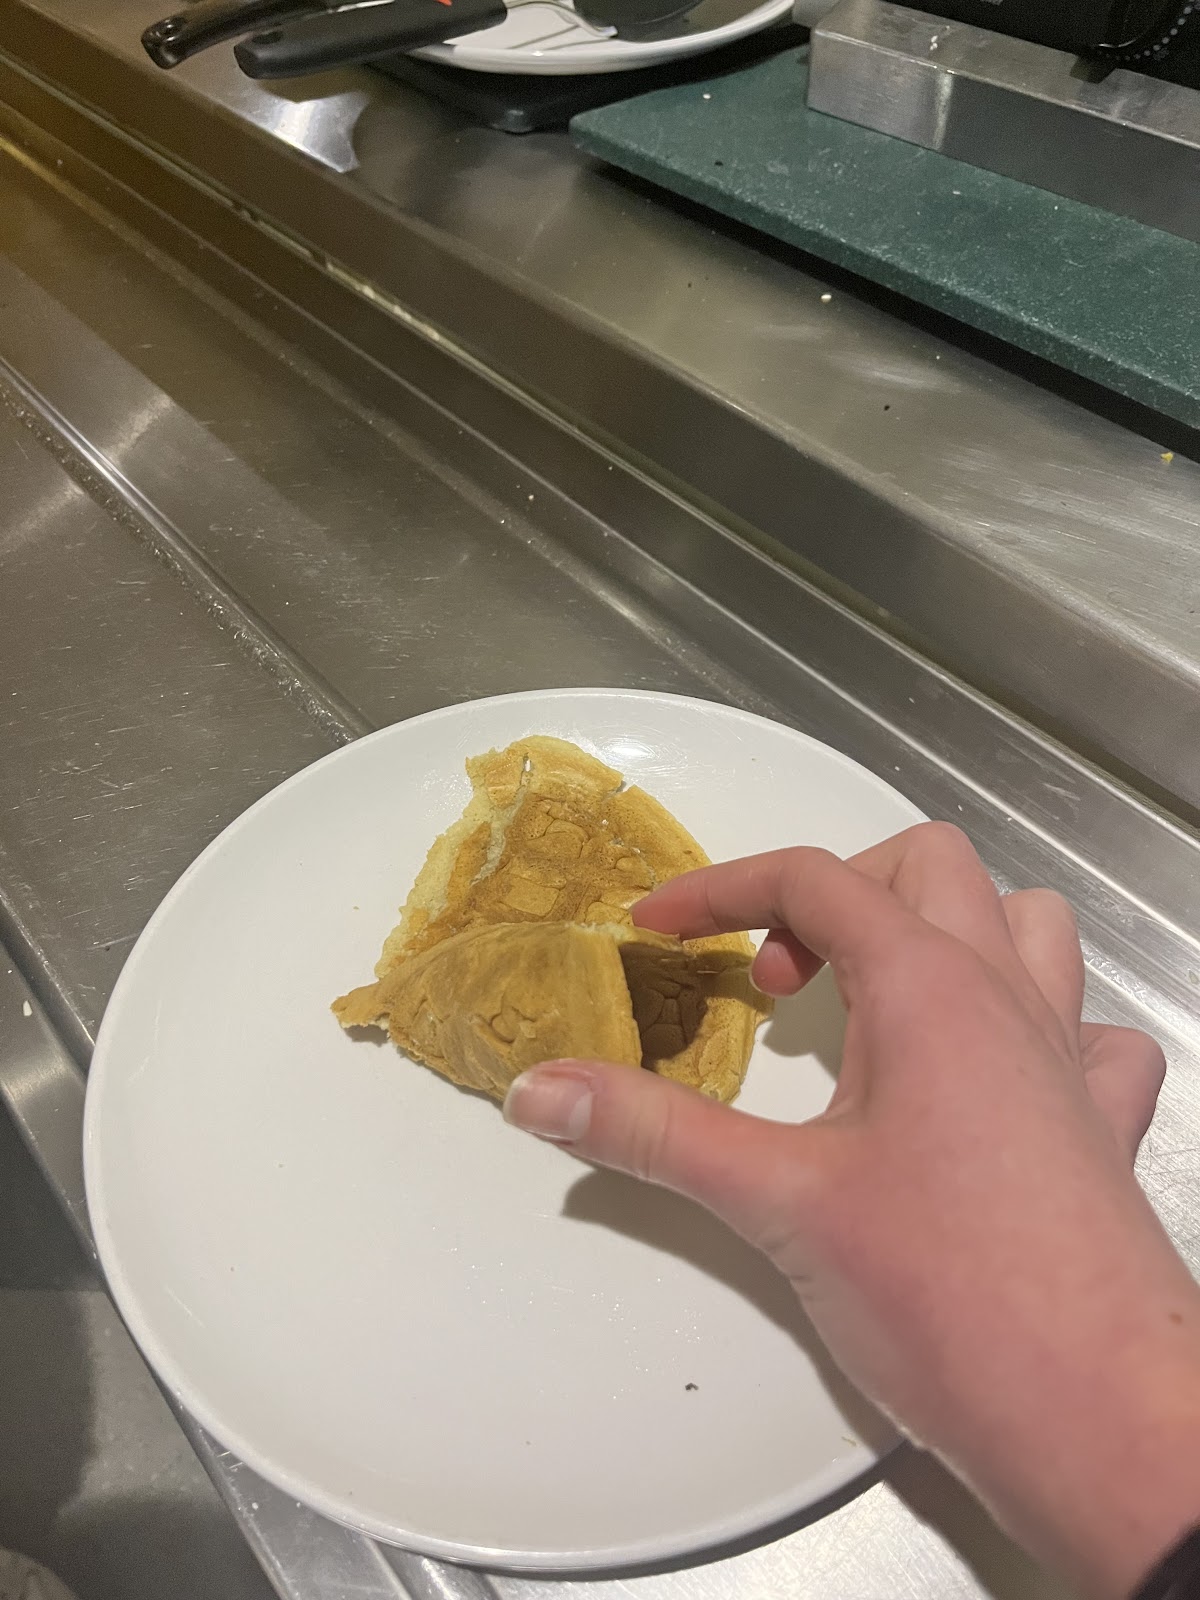
- Place the waffle half you’re using in a panini sheet and put it onto the panini press.
- Press the panini press handle down as much as possible. This is what flattens the waffle and is the most important step. I have tried performing this step with the panini press on or off and have found that the temperature makes no difference.
- Rotate the waffle in the panini press and repeat the pressing process until you have achieved as flat of a waffle as possible.
- Place the waffle on a plate to begin the cone-rolling process. Most of this step is based on feeling. You can use the photo below for reference, and the goal is to end up with a cone shape.
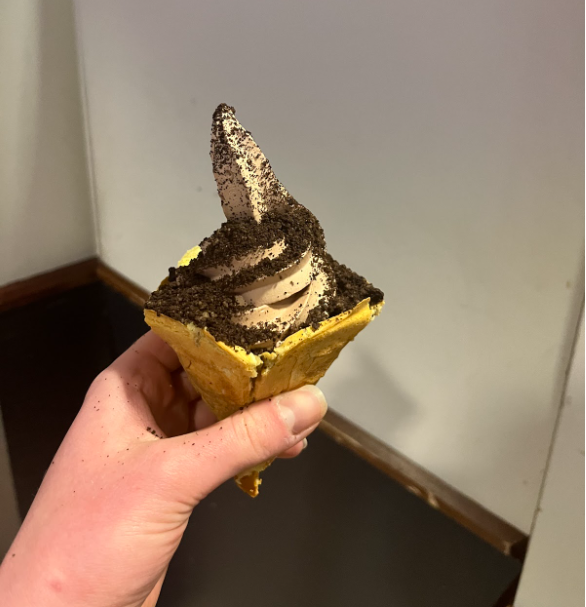
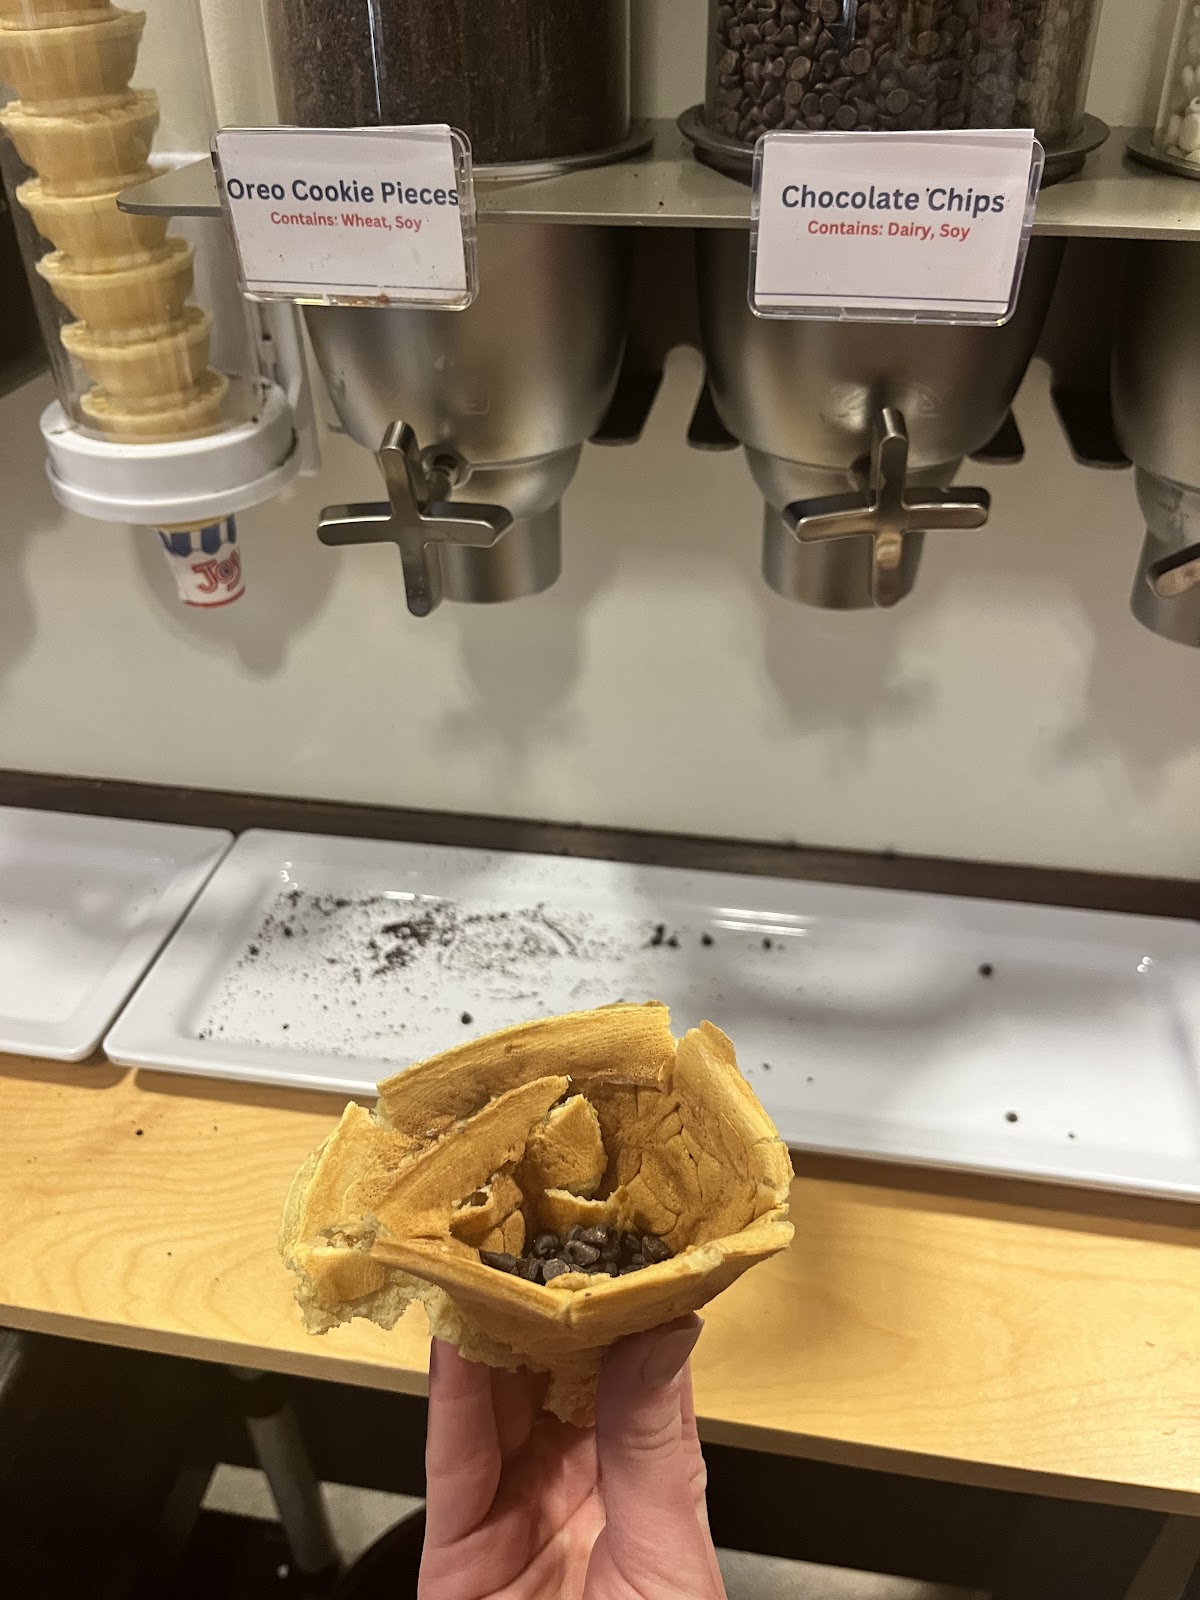
- Fill the bottom tip of the cone with chocolate chips to help keep the soft serve from dripping.
- Pour as much soft serve and as many toppings as your heart desires!


Comments ()